“`html
How to Fix Minor Car Scratches
Your car endures numerous challenges daily, from the hustle of traffic to the hazards of parking lots. Among these complications, minor scratches can be especially troubling as they tarnish your vehicle’s appearance. However, with a few simple tools and techniques, you can restore your car’s gleam without breaking the bank. In this guide, we’ll explore five practical tips for repairing minor scratches on your car. From investing in proper cleaning materials to understanding the nuances of polishing compounds, you’ll find everything you need to breathe new life into your vehicle’s look. Whether you are a seasoned car enthusiast or a curious beginner, these do-it-yourself tips will provide you with the knowledge to tackle those pesky marks confidently. If you’re eager to learn more about automotive maintenance, don’t miss our extra tips at the end of this article.
5 Tips for Repairing Minor Scratches on Your Car
1. Evaluate the Depth of the Scratch
The first step in tackling minor car scratches is assessing their depth. Not every scratch is the same, and understanding whether it’s a clear coat, paint, or primer scratch can determine your approach. Surface scratches affecting only the clear coat can often be polished out with ease. For those that don’t penetrate into the paint layer, an ultra-fine polishing compound or a simple buffing technique might be all that’s needed to restore the shine.
If the scratch has gone deeper into the paint or primer, more comprehensive methods, like touch-up paints or professional repair kits, might be necessary. Start by gently running your fingernail over the scratch. If your nail doesn’t catch, it’s likely just a surface-level mar. Understanding the depth will guide your repair strategy and help you avoid unnecessary work.
2. Clean the Affected Area Thoroughly
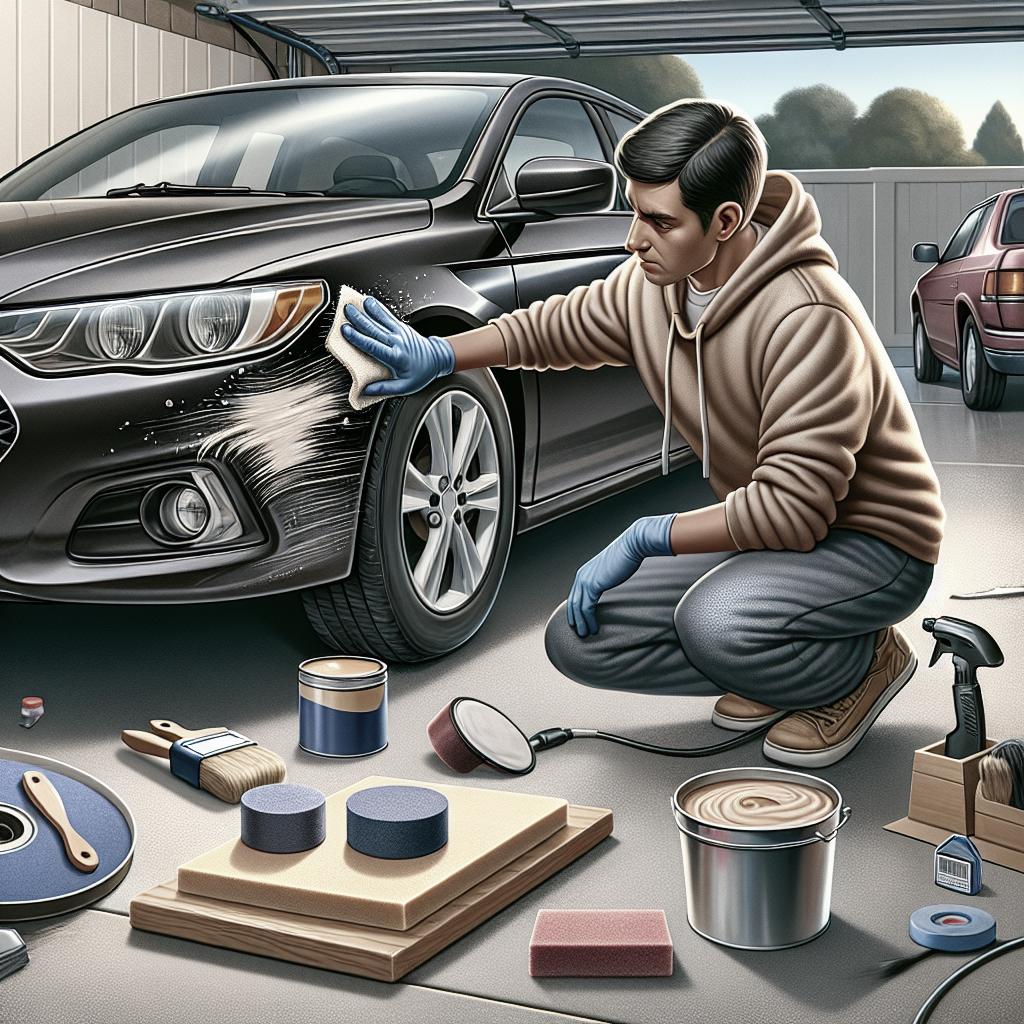
Before attempting any repairs on your car, ensure that the scratched area is spotless. Dirt and grime can exacerbate the damage and interfere with the effectiveness of repair materials. Use a quality car wash solution to clean the surface meticulously. Rinse thoroughly and dry the area with a soft microfiber towel to prevent any lingering moisture.
After washing, inspect the scratch closely under adequate lighting. Sometimes, what appears to be a scratch is merely a mark from another surface; removing these can greatly ease the repair process. Whether you end up needing to polish, fill, or completely repaint the section, working from a clean starting point ensures a smooth, effective repair.
3. Apply a Scratch Remover
Scratch removers are specially formulated compounds that work wonders on minor abrasions. Available in gel, liquid, or paste, these products often contain mild abrasives designed to gently buff out imperfections. Apply the scratch remover according to the manufacturer’s instructions, typically using a clean microfiber cloth or applicator pad. Work the compound into the scratch in a circular motion to ensure even, effective coverage.
Allow the compound to sit as directed, then buff the area with a separate clean cloth. You should begin to notice a significant reduction in the scratch’s visibility. Scratch removers can be a quick and cost-effective way to enhance your car’s appearance, particularly on clear coat scratches. For best results, consider using these products as part of a regular maintenance routine.
4. Use a Polishing Compound
Polishing compounds offer a slightly more aggressive solution than scratch removers and are suitable for scratches that resist initial treatment. These compounds help to restore the shine to your car’s surface while removing minute layers of paint to eliminate deeper imperfections. Apply a small amount of polishing compound to a clean, soft cloth and gently work it into the scratch in a consistent circular motion.
After the application, use another fresh cloth to remove any excess compound, revealing a potentially scratch-free finish. While these compounds can be remarkably effective, they should be used sparingly to avoid over-thinning the paint layer. For those new to car maintenance, consider starting with a less abrasive product or practice on a less noticeable area of the vehicle before tackling conspicuous scratches.
5. Touch-Up Paints for Deeper Scratches
If your scratch penetrates beyond the clear coat and into the paint itself, a touch-up paint might be required. Available at most automotive supply stores, these paints are designed to match your car’s factory finish. Begin by selecting the correct color and type for your vehicle, then follow the provided instructions for application. Paint should be applied carefully, often requiring multiple thin layers to achieve a seamless, natural finish.
Once the paint has been applied and allowed to dry, finish the area with a clear coat to protect the new paint. This not only safeguards against future scratches but also ensures that your repair blends smoothly with the surrounding area. While touch-up paints require a bit more skill and patience, they are an essential part of maintaining a flawless exterior.
Want More DIY Auto Tips?
Beyond repairing minor scratches, there are numerous ways to take better care of your vehicle right at home. Regular maintenance like tire rotations, oil changes, and interior detailing can prolong your car’s lifespan and keep it looking pristine. Learning to tackle small wear-and-tear issues yourself can save time and money while deepening your appreciation for your vehicle.
Consider researching online tutorials or joining automotive enthusiast communities to exchange tips and stories. Hands-on experience is invaluable, and these resources can provide inspiration and guidance for your next DIY project. Whether you’re tackling a minor scratch or contemplating a complete detailing, the world of DIY car care is ripe with opportunities to explore and enhance your skills.
Further Reading and Resources
If you found this article helpful, there’s plenty more to learn. Dive into resources about vehicle maintenance, or explore blogs that cover everything from the latest in automotive technology to sustainable car care practices. With the right knowledge and tools at your disposal, you’ll be prepared to handle whatever comes your car’s way, making maintenance both a practical and enjoyable endeavor.
| Step | Description | Tools/Materials Needed |
|---|---|---|
| 1. Evaluate Scratch | Determine the depth of the scratch to decide repair method | Good lighting, Fingernail |
| 2. Clean Area | Remove dirt and debris for a clean repair surface | Car wash solution, Microfiber towel |
| 3. Apply Scratch Remover | Use product to buff out superficial scratches | Scratch remover, Microfiber cloth |
| 4. Use Polishing Compound | Restore shine and address deeper scratches | Polishing compound, Soft cloth |
| 5. Touch-Up Paint | Repaint areas with deeper scratches | Touch-up paint, Clear coat |
“`