“`html
Introduction: The Quiet Revolution on Wheels
In the pursuit of tranquility and refined driving experiences, sound deadening has come to the forefront as a crucial modification for vehicles. This comprehensive guide aims to demystify the process of car soundproofing, offering insights on why it is vital and how it can be achieved with ease. We will explore the science behind noise within vehicles, walk you through preparation and installation steps, and detail both basic and advanced techniques to enhance soundproofing. Whether you choose to take on this project yourself or seek professional assistance, our guide promises to equip you with the knowledge needed for a quieter, more serene ride.
Table of Content:
- 1: Understanding Sound Deadening
- 2: Preparing for Sound Deadening Installation
- 3: Installation of Sound Deadening Materials
- 4: Advanced Sound Deadening Techniques
- 5: Finishing Touches and Post-Installation
- 6: Professional vs. DIY Sound Deadening
- Appendix
1: Understanding Sound Deadening
1.2: The Science of Noise in Your Vehicle
Noise inside your vehicle can arise from various sources, including the engine, tires, and wind. Understanding the science of sound waves and how they penetrate and resonate within your vehicle’s cabin is key to effective soundproofing. Sound waves travel through solids, liquids, and gases, which means they can enter your car through panels and windows.
The process of sound deadening involves using materials that absorb or block these sound waves, effectively reducing the amount of noise entering the cabin. Advanced soundproofing materials are designed to target specific frequencies, attenuating the most intrusive sounds you’d typically encounter while driving.
1.3: Identifying Noise Sources
Before adopting any sound deadening measures, it’s important to accurately identify the noise sources in your vehicle. These usually stem from the road, wind, engine, and structural vibrations. A thorough inspection of these areas can reveal specific problems, such as poorly insulated wheel wells or gaps in the door seals.
Unwanted noise not only affects comfort but can also influence your driving concentration. Identifying these sources is a critical step toward prioritizing the areas that require soundproofing interventions. Tailoring your approach to these specific problem areas ensures that you achieve the desired level of tranquility within your vehicle.
1.4: Types of Sound Deadening Materials
Sound deadening materials fall into various categories: insulation mats, sprays, and foams. Insulation mats such as Dynamat or B-Quiet Extreme offer easy application and adhere to interior surfaces, effectively reducing noise transmission. Foam sprays expand into gaps or hard-to-reach areas, providing comprehensive coverage.
Different materials have unique properties suited to either absorbing or blocking sound. For instance, vibration-dampening mats are ideal for floors and doors, while foams serve well in damping noise within cavities. It’s essential to choose materials based on the specific requirements of each vehicle section you’re targeting.
2: Preparing for Sound Deadening Installation
2.1: Tools and Materials You Will Need
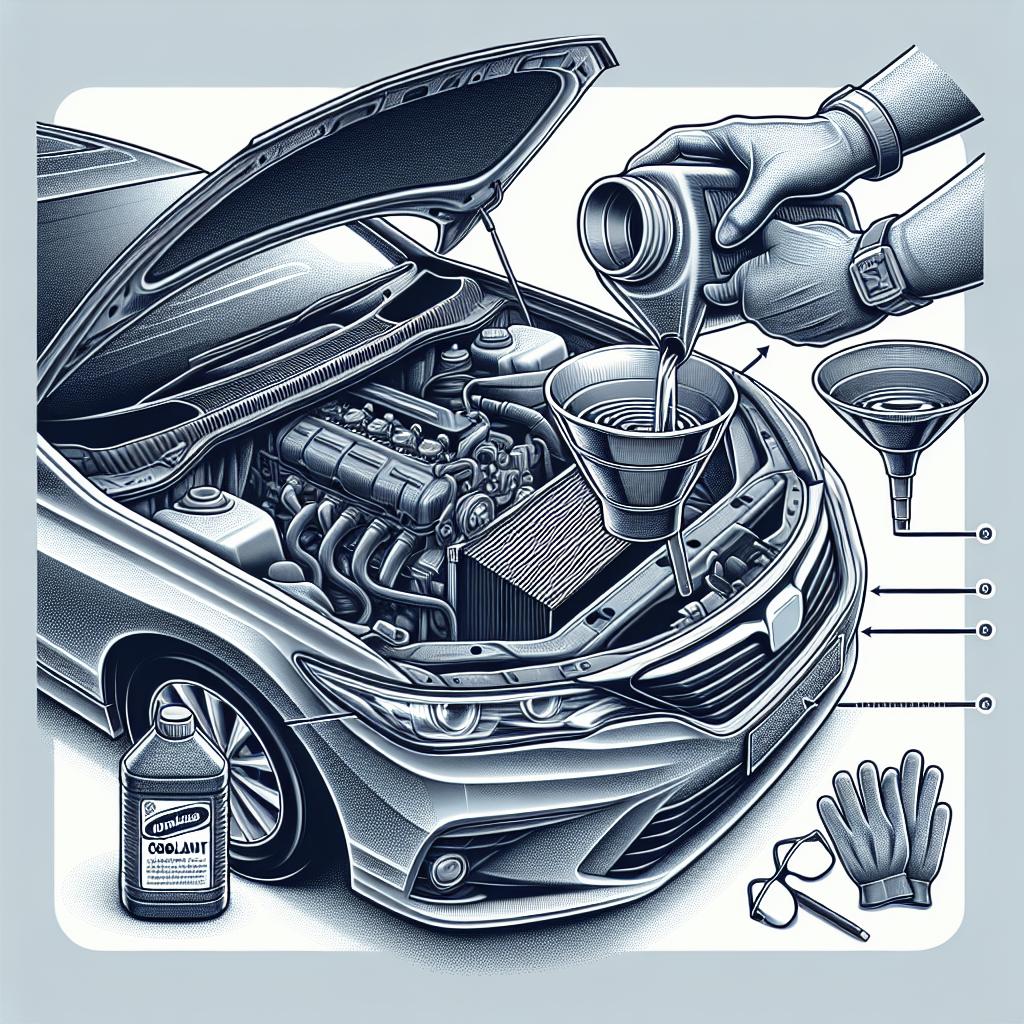
Before diving into the installation process, gather the necessary tools and materials. Some of the basics include soundproofing mats, a roller for application, adhesive sprays, scissors or a utility knife, and cleaning supplies. Depending on the areas you’re working on, additional materials like foam sprays and damping compounds may be required.
Having these items at hand ensures a smooth workflow and can save time, as you won’t need to pause mid-project to fetch missing materials. Proper preparation is half the battle when it comes to successful sound insulation installation, contributing significantly to the ease and speed of the entire process.
2.2: Safety Precautions and Best Practices
Safety should always be a priority when undertaking vehicle modifications. Wearing gloves and protective eyewear is advisable when handling adhesives and cutting tools. Ensure the workspace is ventilated properly, particularly when applying sprays or adhesives that might emit fumes.
Additionally, it’s recommended to follow the manufacturer’s instructions closely during installation. This adherence ensures the effectiveness of the soundproofing materials and helps avoid any accidental damage to your vehicle’s interior components.
2.3: Vehicle Preparation – Cleaning and Disassembly
Preparing your vehicle is a crucial step that involves cleaning and disassembling areas where soundproofing will be applied. A clean surface ensures better adhesion of the materials, so wipe down areas to remove dust or grease. Vacuum any dirt and debris from the spaces you’ll be working on.
Disassembly involves removing door panels, seats, and carpets as necessary. Keeping track of screws and clips can prevent frustration when it comes time to reassemble these parts. Proper preparation maximizes the effectiveness of your soundproofing efforts, contributing to a quieter ride experience.
3: Installation of Sound Deadening Materials
3.1: Step-by-Step Installation Guide
3.1.1: Door Panels
Start by removing the door panels, exposing the inner metal sheet. Clean and dry this area thoroughly. Cut the soundproofing mat to fit and apply it to the metal using a rolling tool to ensure even adherence and eliminate air bubbles. Reinstall the panels carefully, making sure no gaps are left.
3.1.2: Floor and Ceiling
For floors, remove the carpets and seats for full access. Measure and cut mats to size, adhering them to the metal floor. Apply the same process to the ceiling if accessible, focussing on coverage around speakers and sunroofs, which can be noise entry points.
3.1.3: Trunk Area
The trunk is often an overlooked noise source. Remove any liners and clean the metal surfaces. Apply mats on the trunk’s interior, including the wheel arches, as these can amplify road noise. Reassemble the trunk once satisfied with the coverage.
3.1.4: Wheel Wells and Fenders
For wheel wells and fenders, spray-based deadeners can be efficient due to their ability to reach tight spots. Apply the spray evenly, ensuring any gaps are filled. This application helps in damping noise directly from the road and improves overall acoustic isolation.
3.2: Tips for a Smooth Installation
Having a clear installation plan, with materials pre-cut and ready, minimizes downtime. Keep a roller and heat gun handy for handling stubborn mats, helping them adapt to complex shapes or surfaces. Working in a warm environment can also make certain materials more pliable.
Patience is key to sound deadening work; rushing can lead to misapplied materials and poor results. Each area should be completed methodically before proceeding to the next, ensuring the integrity of your soundproofing efforts.
3.3: Troubleshooting Common Issues During Installation
Common installation issues include poor adhesion and wrinkle formation in the soundproofing mats. If mats don’t adhere properly, double-check that surfaces are clean and free of oils. Wrinkles can be smoothed out using a heat gun and roller to re-soften and stretch the material.
If you encounter challenges with fitting materials in complex areas, consider using smaller pieces for a better fit, overlapping edges as needed. Persistence and problem-solving are crucial in overcoming installation hurdles and achieving a quieter vehicle environment.
4: Advanced Sound Deadening Techniques
4.1: Using Damping Materials for Optimal Results
Damping materials are critical for reducing vibration-induced noise. These materials absorb mechanical energy, preventing it from converting into sound waves. Applying them to frequently vibrating areas, such as door panels and the floor, can significantly reduce resonance.
Layering damping materials with insulation mats can enhance their effectiveness, offering both vibration absorption and sound insulation properties. This dual approach leads to superior soundproofing, creating a silent and comfortable cabin environment.
4.2: Creating Barriers and Absorbers
Sound barriers and absorbers serve different roles in soundproofing. Barriers are dense materials that block sound waves, while absorbers are porous, capturing and dissipating sound energy. Combining these in areas like door cavities or the firewall can optimize sound reduction.
Practical application might involve layering barriers near noise sources and absorbers on exposed surfaces. This strategic method ensures that noise is either blocked at its origin or absorbed before it can reach the cabin.
4.3: Addressing Specific Frequencies and Resonances
Soundproofing can be fine-tuned by targeting particular frequencies. Low-frequency noises often come from the road or engine, requiring thicker or multi-layered dampers. High-frequency noises, such as wind, are more easily blocked with dense barriers.
Recognizing and addressing specific noise frequencies involves an understanding of your vehicle’s unique acoustic environment. Listening for patterns in noise generation can guide where to focus your soundproofing efforts for maximum effect.
4.4: Combining B-Quiet Products for Maximum Effectiveness
B-Quiet products, renowned for their efficiency in soundproofing, offer various solutions for different areas of your vehicle. Mixing products like B-Quiet Extreme for dense areas with B-Quiet Vcomp for multi-layered damping can yield exceptional results.
Customizing the combination of materials for your particular noise challenges ensures that all aspects of sound intrusion are tackled efficiently. With a strategic mix of B-Quiet products, you can achieve the optimal balance between cost and sound reduction.
5: Finishing Touches and Post-Installation
5.1: Sealing and Reassembly
Once all materials are installed, focus on sealing any gaps to prevent noise leakage. Reassemble door panels, carpets, and seats, ensuring everything fits snugly and securely. Proper reassembly is as important as the initial application for sustained soundproofing.
Make sure that all components are reinstalled without blocking any newly applied soundproofing materials. Ensuring a perfect fit also maintains the aesthetic and functional integrity of your vehicle interior.
5.2: Sound Testing After Installation
Conducting sound tests after installation helps evaluate the effectiveness of your soundproofing efforts. Take your vehicle for a drive on various surfaces and at different speeds, listening for reductions in noise levels.
If certain areas still seem noisy, consider additional layers or identifying potential breaches where sound may still be infiltrating. Testing and adjusting are part of achieving a perfectly quiet vehicle environment.
5.3: Maintenance of Sound Deadening Materials
Maintaining soundproofing materials requires periodic checks to ensure they remain in good condition. This maintenance ensures that adhesives haven’t loosened and that no moisture has compromised the materials.
Regular maintenance can prolong the effectiveness of your soundproofing investment, supporting a consistently quiet and comfortable driving experience for years to come.
6: Professional vs. DIY Sound Deadening
6.1: When to Call in the Professionals
While many soundproofing tasks can be handled as a DIY project, there are instances where professional assistance may be beneficial. Complex installations, or when handling high-end vehicles, might require the expertise of professionals to avoid damage.
Professionals bring experience and specialized tools, offering peace of mind with flawless installations. In cases where time or skill level may limit DIY capabilities, turning to professionals can ensure optimal results.
6.2: Benefits of DIY Sound Deadening
DIY sound deadening projects provide the satisfaction of personal accomplishment and can be more budget-friendly. By understanding the fundamentals of soundproofing, car enthusiasts can tailor solutions specifically to their vehicle’s noise challenges.
The process can also be educational, offering insights into vehicle acoustics and allowing for incremental improvements as you fine-tune your soundproofing approach over time.
6.3: Cost Analysis
Cost is a significant factor in the decision between professional and DIY soundproofing. DIY projects typically incur lower costs as you’ll only need to purchase materials. Professional installations will include labor charges, which can elevate expenses.
Choosing DIY can be more economical, but weigh this against your personal skill level and time availability to ensure it’s the right choice for you.
Lessons Learned: Mastering the Quiet Ride with B-Quiet
Through understanding the nature of noise in vehicles and leveraging the right soundproofing materials, you can greatly enhance your driving experience. Whether you opt for DIY or professional help, soundproofing tackles noise at its source, creating a serene atmosphere for everyday travel.
This investment in vehicle acoustics not only improves comfort but can also contribute to better concentration and enjoyment on the road. With B-Quiet solutions and our detailed guide, mastering the quiet ride has never been easier or more achievable.
| Section | Main Points |
|---|---|
| Understanding Sound Deadening | – The science of noise and sound waves – Identifying and addressing noise sources – Various types of sound deadening materials |
| Preparing for Installation | – Necessary tools and preparation steps – Safety considerations – Vehicle cleaning and disassembly |
| Installation Guide | – Step-by-step instructions for each vehicle area – Tips for smooth installation – Troubleshooting common issues |
| Advanced Techniques | – Use of damping materials and applications – Creating sound barriers and absorption strategies – Addressing specific frequencies |
| Finishing Touches | – Sealing and reassembly guidelines – Post-installation sound testing – Maintenance practices |
| Professional vs. DIY | – When professional help is needed – Benefits of DIY projects – Cost analysis and considerations |
Appendix
A.1: Glossary of Sound Deadening Terms
A glossary of technical terms related to soundproofing can be invaluable for beginners. Understanding terms such as “damping,” “resonance,” and “barrier” can enhance your knowledge and application of soundproofing concepts.
The glossary should include definitions of materials and techniques to help you become more familiar with the jargon encountered during research or while purchasing products.
A.2: Frequently Asked Questions
FAQs can address common concerns or queries about sound deadening. Topics such as how soundproofing affects vehicle weight, the best materials for different areas, and tips for achieving optimal results are often covered here.
This section can provide quick answers and a reference point for those new to soundproofing, helping to resolve uncertainties before starting the process.
A.3: Resource List for Further Reading
A curated list of resources provides further learning opportunities and keeps you informed about advancements in soundproof technologies. Books, websites, and forums are great mediums for expanding your knowledge beyond initial soundproofing efforts.
Engaging with soundproofing communities or accessing comprehensive guides can inspire creative solutions and improvements in your ongoing soundproofing projects.
“`